Fluffy, crusty and unbelievably easy to make no-knead bread. So good that you can’t stop yourself from making it frequently!
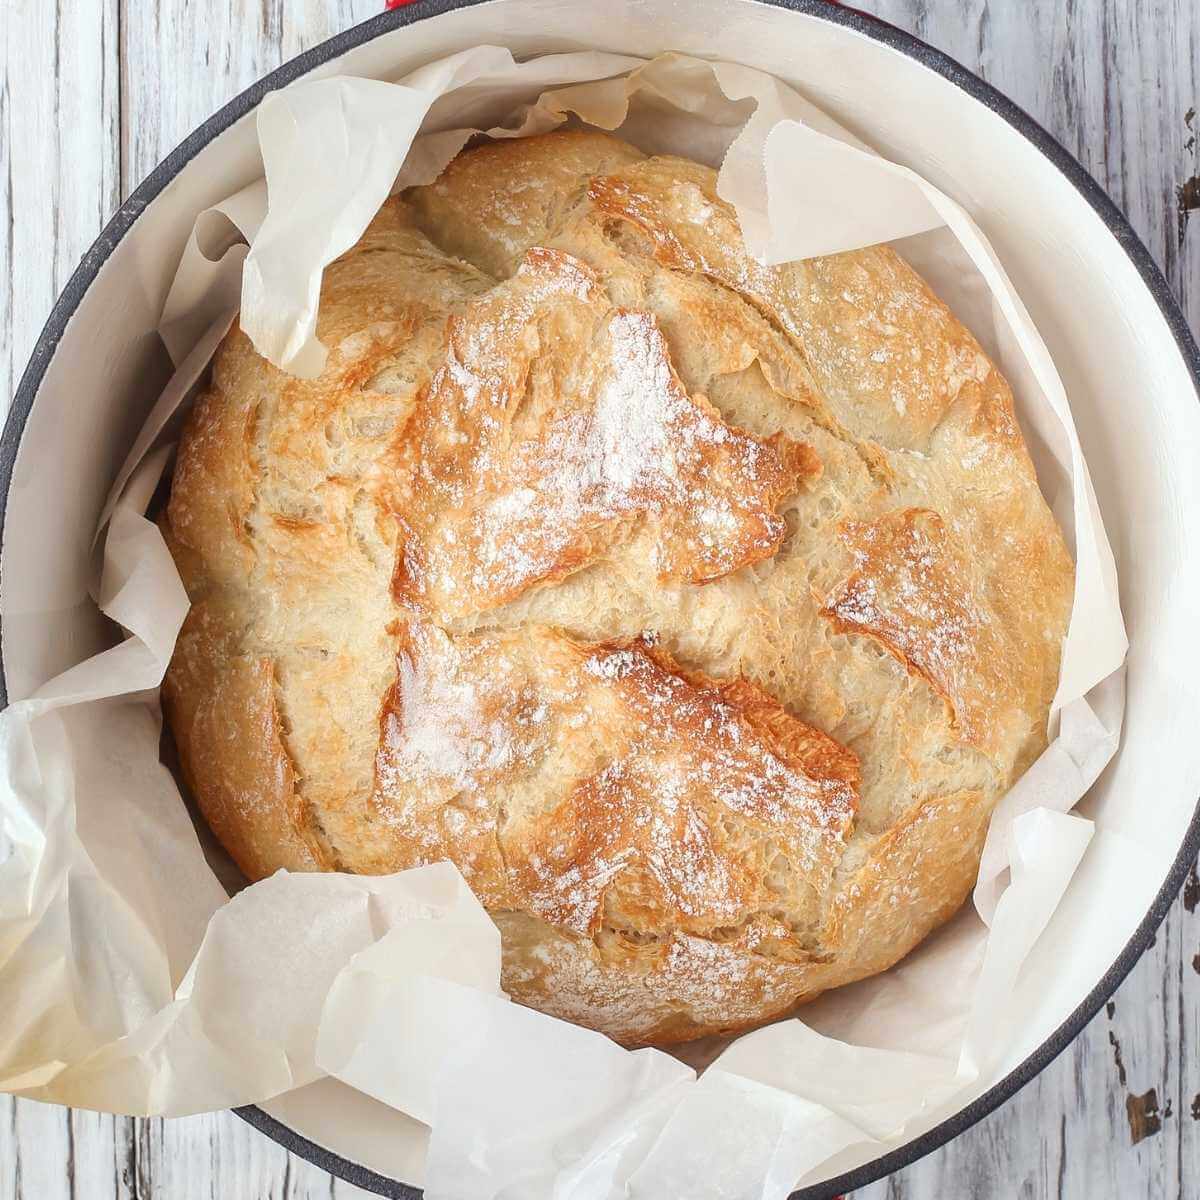
Humankind really got things going once they figured out bread. As simple as it might seem, turning grains into nutritious food was a game-changer.
Even today, making bread for the first time is an eye-opening experience. Like making food from nothing. Did you know you could easily live just by eating whole-grain bread? It’s that nutritious.
Then again, baking is also a bit intimidating. That’s why most people just buy it. Well, not today. We’re making bread and are skipping the most laborious step of the process — kneading.
No-knead bread? Really? Yes, and you only need four ingredients, so this might be the easiest bread recipe you’ll find. Don’t think for a second the bread isn’t delicious, though; it’s gorgeous!
No-Knead Bread Ingredients
Let’s start with the flour, bread’s building block. We’re using all-purpose flour because that’s what you already have in your pantry. You can also use bread flour. The main difference between these two varieties is that bread flour has more protein, meaning more gluten — but don’t be scared. Gluten is your friend; it’s responsible for making your bread fluffy and airy.
We’re also using instant yeast. If you haven’t worked with bread before, you’ll love instant yeast. You don’t have to hydrate it, and it absorbs water quickly. It’s super easy to use, and just ¾ of a teaspoon is enough to get your dough rising.
We’ll add a pinch of salt to our dough, just to intensify its flavor, and finally, warm water, just enough to create a sticky dough.
Now, here’s the deal. What you want when making bread is plenty of space. You want to be able to move freely and work your dough. Even if we’re not kneading it, we still need to fold it on itself once or twice.
A final piece of advice? Be patient. Let that dough rise for a few hours; it should double its size. Also, preheat your oven; that’s the only way to get tender bread with a lovely golden crust.
If you’re watching the Great British Bake Off, you will always hear Paul Hollywood being particular about the rise of the bread, if it’s proof or under proof. So, though we did not work on kneading this bread, proofing or rising the bread for a plenty amount of time is a crucial process.
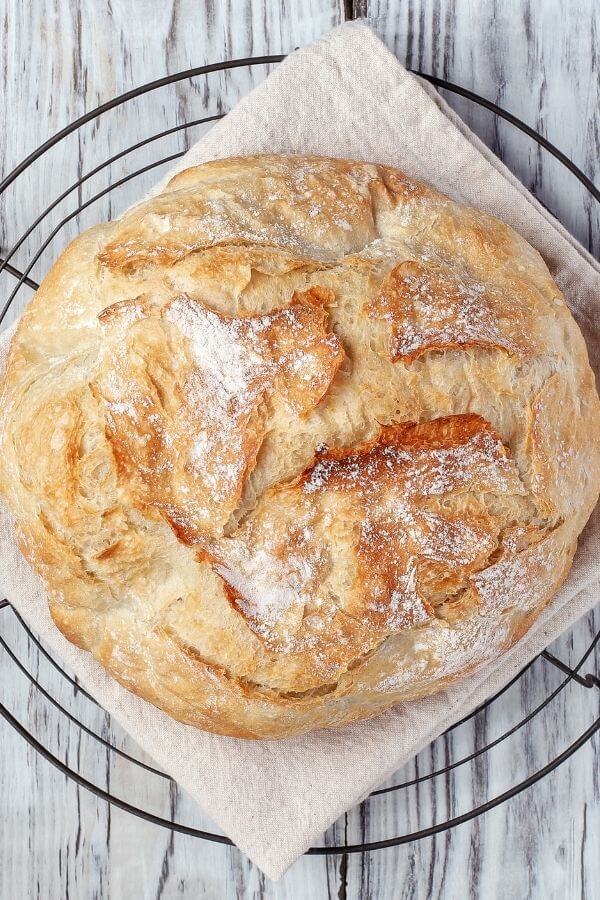
What to do with your no-knead bread?
Once you start making bread, you’ll never stop. Make bread for those memorable occasions, dinner parties with friends and family. It’s up to the task.
This pillowy bread is also great to have around. Make some toast, spread some jam over a slice or build yourself a hearty sandwich. With bread as good as this one, you just can do anything.
Perfect for soups like Butternut Squash Soup, Broccoli Cheddar Soup and many more!
Here’s another tip: Homemade bread is a lovely gift. Homecoming parties, get-togethers or dinner parties, you can always bring freshly made bread with you. You can never have enough bread, right?
Enjoy your bread straight out of the oven with your loved ones and let this one be the first step of a long journey towards bread making mastery.
More Bread Recipes from the Blog
- Flourless Banana Bread
- Keto Bagels
- Low Carb Banana Bread (readers favorite!)
- Zucchini Bread
Some Takeaway Tips
- The dough must be wet and shaggy when all ingredients are combined. Shaggy means a bit lumpy. Not the usual smooth dough you always see when you make regular breads or pastries.
- Let the dough have a slow and long rise, for at least 6 hours or more in a warm place. Then give it a second rise for another one hour after that.
- Shape the dough in a tight round ball for the bread to get a much better rise. You will see air pockets inside your bread.
- To store, wrap the bread tightly and keep at a room temperature. The bread is good to consume within 3 days.
- Make variations on this bread by replacing the type of flour. You can make it gluten-free, whole wheat, add some herbs and cheese!
No-Knead Bread Recipe
Equipment
- oven-safe pot or dutch oven
Ingredients
- 3 cups all-purpose flour
- 2 teaspoons salt
- 3/4 teaspoon instant yeast
- 1 1/2 cups warm water
Instructions
- In a large mixing bowl, combine flour, salt and yeast. Whisk until mixed. Create a well in the center and add the water. Combine them altogether until a wet, sticky dough is formed.
- Cover the bowl with a plastic wrap and let it rise in a warm area for 6-8 hours. The dough will double in size and will be bubbly.
- Get a piece of parchment paper and lightly flour it. Take the dough out of the bowl and place on a parchment paper with flour. Fold the dough and turn over itself about 3 times. Shape it into a round ball. Cover the dough and let it rise for 1 hour more, it will again double in size.
- Preheat the oven at 450 degree F. Make sure to place your oven-safe pot or Dutch Oven with its lid inside the oven (middle rack) while preheating. About 30 minutes.
- After preheating, take your Dutch Oven out of the oven, be careful it's hot. Transfer the dough with the parchment paper as a sling inside the Dutch Oven. Make some shallow cross cuts on top of the dough if desired.
- Cover the pot and bake for 30 minutes. After that, bake uncovered for 15 minutes until brown. The bread is well-baked if it reaches 210 degree F internal temperature.
- Remove from oven once done and let it cool on a wire rack before serving. Enjoy!



Long says
I love your blog and Keep doing what you’re doing! Thank you for all.
Claudia says
How much reg yeast do you use?
Shem says
hi sorry i have not used regular yeast yet
Yvrose Douyon says
I like your recipe, but I don't have the Dutch Oven pot what else can I use. Thank you
Yvrose
Shem says
hello, if you have any pot that is oven-safe or cast iron pot that will do.